10 Gallon Waterfall Build Journal
using DIY Molding/Casting Kit
using DIY Molding/Casting Kit
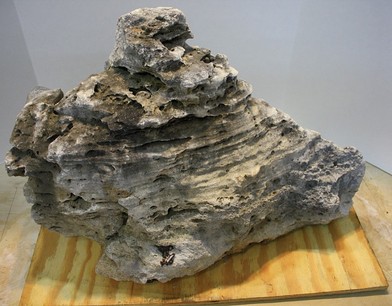
This simple 10 gallon aquarium was built using the Vivaruim Works DIY Molding/Casting Kit. By taking a mold of a rock that was much too large to use in this small aquarium and plumbing a tube into the back, I was able to make a neat looking rock background waterfall for this small tank. The purpose of this build was to showcase and document the technique I used for this tutorial.
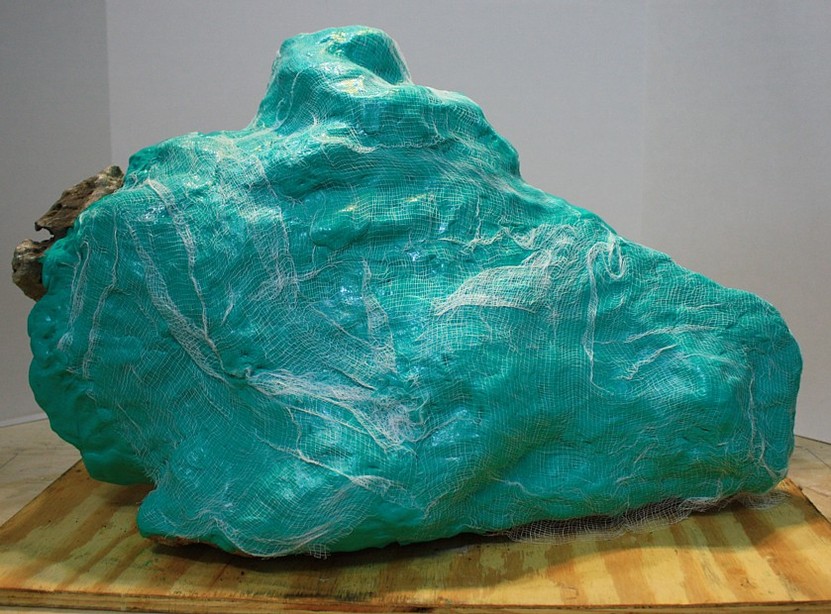
I started off with making a silicone mold of the large limestone rock using Exhibit:Mold. This mold took just about one full 2lb kit. Since I wanted to make a background with this mold, I only molded the front face. By not going around the back and sides of the rock, it not only makes it much easier to mold, but also to cast. Before the silicone cured, I used a cotton gauze I opened up, and pressed into the Exhibit:Mold. This gives it a greater degree of strength and reduces tearing of the mold when demolding and casting.
I allowed the Exhibit:Mold to fully cure and then demolded it from the rock slowly and carefully. Going from one side to the other and changing directions when necessary to avoid putting too much strain on the mold.
I allowed the Exhibit:Mold to fully cure and then demolded it from the rock slowly and carefully. Going from one side to the other and changing directions when necessary to avoid putting too much strain on the mold.

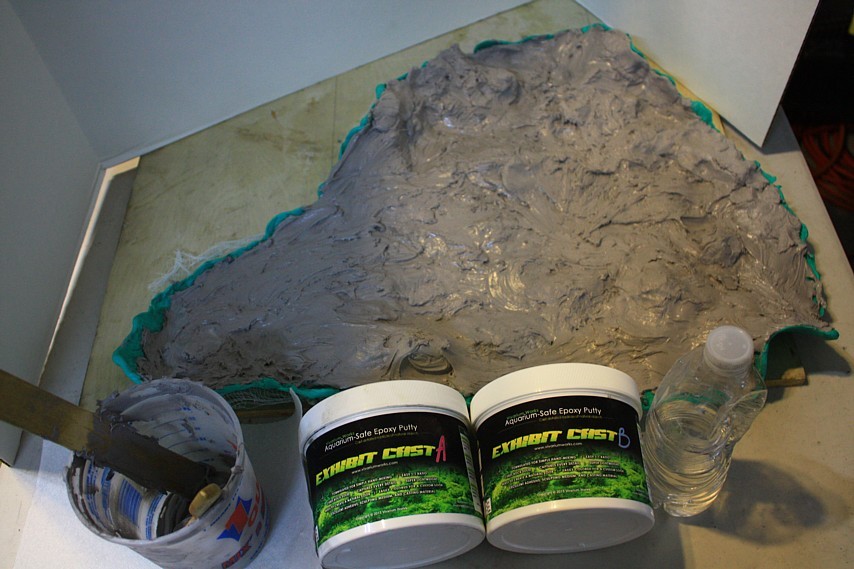
Once the mold was removed intact from the rock I was able to cast into it the Exhibit:Cast. Now this is where this build differs from the others. Here I show how with the flexible Exhibit:Mold you can cast your rock or background directly into the tank itself. By applying the Exhibit:Cast into your mold, then while still wet and uncured, you place the entire thing into your aquarium. This technique will allow you to flex the mold to cover the sides and bottom if you wish. By taking advantage of the flexible mold, you can change the size/shape of the original rock to fit your needs.
Prior to mixing and using the Exhibit:Cast, however, I added some black iron oxide powder into the mold. By rubbing the interior of the mold with a paper towel coated in the powder you can give your rock some texture and color beyond what the Exhibit:Cast color gives. A technique I like is to rub on the raised sections of the mold extra amounts of the black, which help to darken the crevices and nooks in the cast.
Also, for this build I used the technique of hand mixing (with gloves) the Exhibit:Cast and then putting the mixed material into a cup and adding drops of water and mixing with a disposable paddle. I did this until it made a paste and was able to be troweled into the mold.
Then I put the clear waterfall tube into the back by making a small cut into the mold and put the tip of the tube out of it, and then put the mold, filled with Exhibit:Cast, and tube into the aquarium.
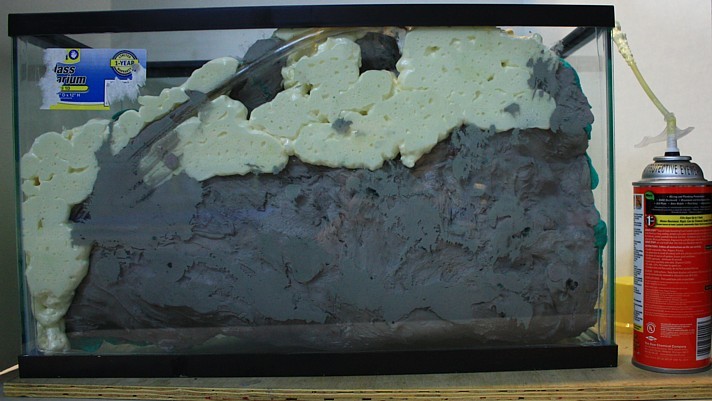
Once inside the aquarium and before it had a chance to fully cure, I used this time to apply the sprayfoam that would act as both the support for the Exhibit:Cast as well as hold the entire background together to the glass.
Using the canned "Great Stuff" polyurethane spray foam, I applied a layer of foam under the Exhibit:Cast. This foam support layer helps to give the cured epoxy strength as well as helps to fill voids that small animals could use to hide in. After applying this I allowed the foam and epoxy to cure overnight.
Once cured, I was able to slowly and carefully remove the Exhibit:Mold from the new background.
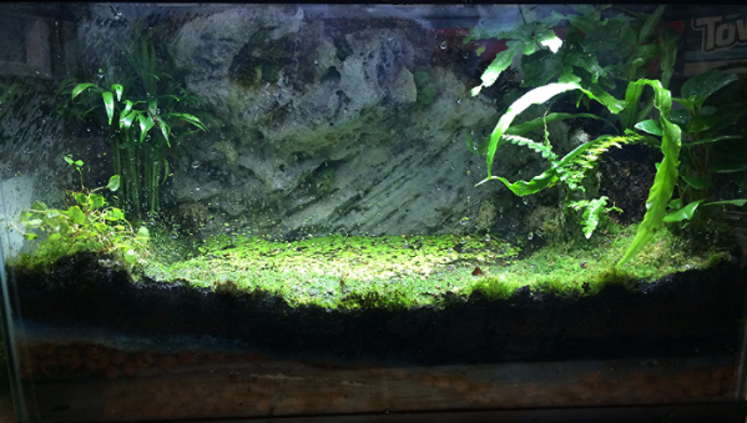
At this point, the background is ready to finished. In order to have a place to put plants on the side wall, I cut the foam back and made few plant spaces. From there I applied the silicone sealant and while wet, dusted dry sphagnum peat moss onto it. This gives the dark brown earth texture to the background and foam.
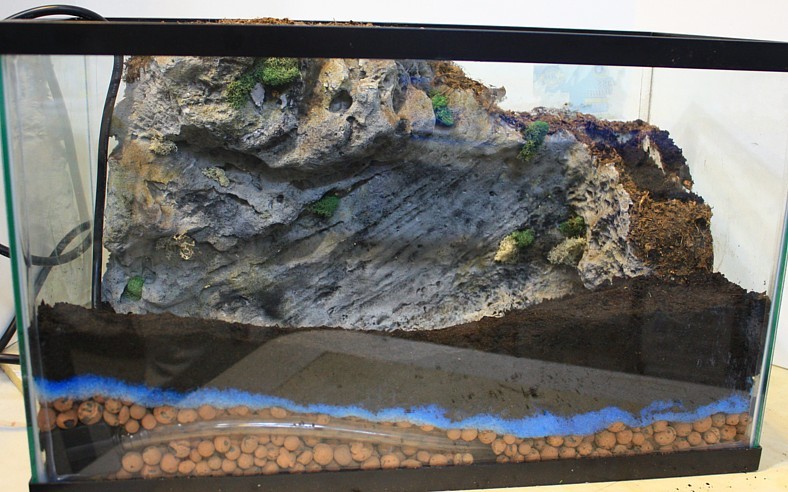
After that it was as simple as putting down a drainage layer of LECA (hydroballs), a foam separator to keep the soil from clogging up the pump and getting into the LECA layer, and then the soil, plants, and pump.
After that it was as simple as putting down a drainage layer of LECA (hydroballs), a foam separator to keep the soil from clogging up the pump and getting into the LECA layer, and then the soil, plants, and pump.