Great Stuff, Silicone, and Peat Method
Before You Start
This is the most popular method of making a vivarium background in the hobby and is one of the easier methods to follow. All of the materials can be obtained from your local home improvement store. Be sure to check out many of the other tutorials as this method is merely the foam matrix that holds together the vivarium and using this technique in conjunction with the others can greatly improve your design options. (More tutorials on the way.)
Safety
This method requires the use of chemicals that if used indoors without proper ventilation can cause dizziness and disorientation not to mention smell rather funky so doing it outside is best. Also eye protection is a MUST as the pressurized polyurethane foam can cause permanent eye damage/blindness. Not to mention it is extremely sticky. While this material is curing it will bond to everything it touches including skin, so gloves are nedded. Be safe and use common sense.
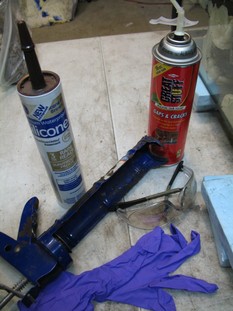
Materials Needed
Disposable Gloves
Eye Protection
Plastic Plant Cups
Wood, Replica Rocks, anything else
Blue Dow/Pink ¾” Insulation Foam (optional)
“Great Stuff” Canned One Part Polyurethane Foam (Normal Red Can Version)
GE Silicone I or II Caulk (Brown/Black Color)
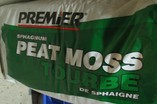
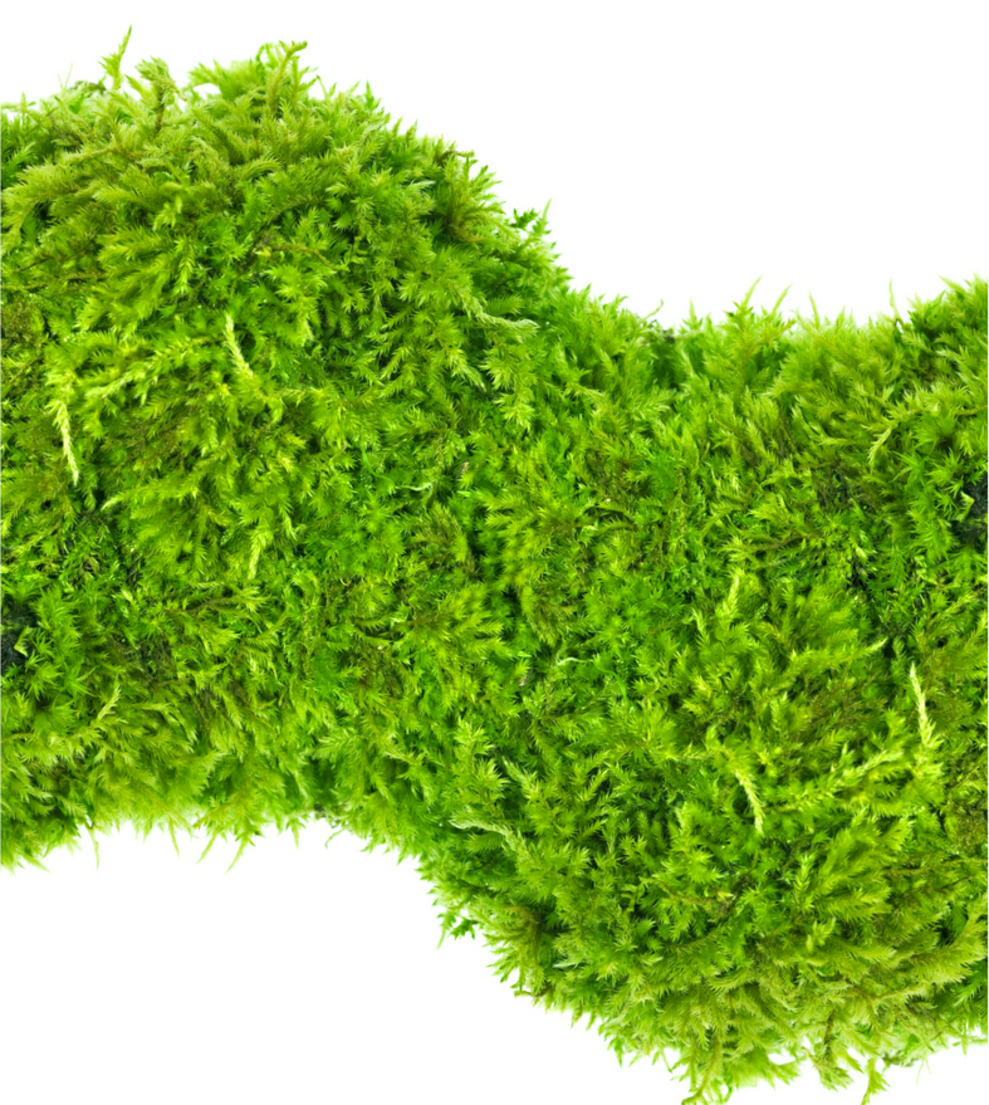
Sphagnum Peat Moss/Coco Husk/Coconut Bedding (100% Dry)
Disposable Gloves
Eye Protection
Plastic Plant Cups
Wood, Replica Rocks, anything else
Blue Dow/Pink ¾” Insulation Foam (optional)
“Great Stuff” Canned One Part Polyurethane Foam (Normal Red Can Version)
GE Silicone I or II Caulk (Brown/Black Color)
Sphagnum Peat Moss/Coco Husk/Coconut Bedding (100% Dry)
Details
This method can be done in two major ways. You can either make this design in the aquarium directly on the glass or make it on a piece of Blue Dow/Pink Foam. Most people do it directly on the glass however I have found making it outside the aquarium on a piece of foam cut to fit makes it much easier as you are not trying to work around the aquarium glass. This reduces the amount of mistakes and chance of breaking/scratching the aquarium.
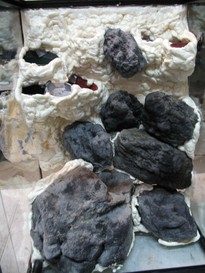
1. Arrange the plant cups, wood, replica rocks, and any other objects you wish to be in your background in an arrangement that suits your design.
2. Using the Great Stuff canned foam, apply a layer of foam in-between your objects. Keep in mind the foam expands 2-5X depending on temperature and humidity, so don’t over apply it.
3. Wait for about 4-10 hours, depending on how thick of a layer you have applied, for the foam to cure. In most cases the foam will form a cured skin relatively rapidly, however the deeper parts will remain uncured for a while longer. The higher the temperature and humidity, the faster the cure rate as the foam uses the available moisture in the air as part of the reaction.
4. Once the foam has solidified you can now carve the excess off and design any look you wish. This is usually only needed to remove the excess foam the rim of the plant cups.
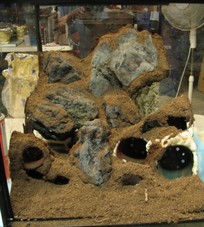
5. Using the GE Silicone I or II and disposable gloves, apply in small areas about the size of a dinner plate the caulking material. This will act as the “glue” that will cover the foam and adhere the peat. Using a black or brown color I find looks best. Rub and smear the caulk over the foam with one gloved hand and with the other apply and pat down in large volumes DRY peat/coconut husk. If it is not 100% dry the peat will not stick to the caulk.
6. Continue this process until the entire background is covered. GE silicone II is a higher grade of silicone than GE I and will cure faster than the cheaper kind. In either case it is best to do small batches at a time as the caulk can skin over rapidly. Cheaper brands and grades of silicone sealant will outgas more acetic acid, giving off a very strong vinegar smell, and often take longer to cure so it’s best to use the good stuff. I prefer GE II, but GE I works and is slightly less expensive.
7. Allow the silicone to fully cure. The rate is again like that of the foam with temperature and humidity being a factor. In most cases waiting a good 5-10 hours is plenty. (If after 24 hours the silicone is still not dry, you must remove it all by hand because you got a bad batch. See tips below.)
8. Using a water hose or vacuum cleaner remove the excess peat from the background. If using the hose, be certain the silicone has cured and don’t blast it with high pressure.
9. Follow the above steps to patch up any areas missed and begin planting.
Tips
If you get any of the Great Stuff on you using acetone (nail polish remover) will help remove it. It's best to wear gloves and old clothes.
Small areas at a time work better with the silicone.
Don’t over apply the foam, it expands a lot.
Instead of using the “Great Stuff” foam you can use Canned Pond Sealer Foam which is the same thing only with a black dye, but it is 4X the cost on average.
Dry out your peat/coco husk in the sun, never the oven. Wet peat won't adhere to the silicone well as the silicone is very hydrophobic.
Instead of trying all of this in the aquarium, use a thin piece of foam insulation to make your design on and drop the finished piece into the tank.
If your silicone takes a LOT of pressure to come out of the tube and/or doesn’t cure in the proper time you bought a bad batch. Be sure to check the expiration date and use ones WELL away from it. Bad batches will never cure properly and you will have to tear down/toss anything that comes in contact with it as it will forever remain sticky and uncured. This is can be caused if you allow your silicone to overheat in the car/sun while still in the tube.
This method can be done in two major ways. You can either make this design in the aquarium directly on the glass or make it on a piece of Blue Dow/Pink Foam. Most people do it directly on the glass however I have found making it outside the aquarium on a piece of foam cut to fit makes it much easier as you are not trying to work around the aquarium glass. This reduces the amount of mistakes and chance of breaking/scratching the aquarium.
1. Arrange the plant cups, wood, replica rocks, and any other objects you wish to be in your background in an arrangement that suits your design.
2. Using the Great Stuff canned foam, apply a layer of foam in-between your objects. Keep in mind the foam expands 2-5X depending on temperature and humidity, so don’t over apply it.
3. Wait for about 4-10 hours, depending on how thick of a layer you have applied, for the foam to cure. In most cases the foam will form a cured skin relatively rapidly, however the deeper parts will remain uncured for a while longer. The higher the temperature and humidity, the faster the cure rate as the foam uses the available moisture in the air as part of the reaction.
4. Once the foam has solidified you can now carve the excess off and design any look you wish. This is usually only needed to remove the excess foam the rim of the plant cups.
5. Using the GE Silicone I or II and disposable gloves, apply in small areas about the size of a dinner plate the caulking material. This will act as the “glue” that will cover the foam and adhere the peat. Using a black or brown color I find looks best. Rub and smear the caulk over the foam with one gloved hand and with the other apply and pat down in large volumes DRY peat/coconut husk. If it is not 100% dry the peat will not stick to the caulk.
6. Continue this process until the entire background is covered. GE silicone II is a higher grade of silicone than GE I and will cure faster than the cheaper kind. In either case it is best to do small batches at a time as the caulk can skin over rapidly. Cheaper brands and grades of silicone sealant will outgas more acetic acid, giving off a very strong vinegar smell, and often take longer to cure so it’s best to use the good stuff. I prefer GE II, but GE I works and is slightly less expensive.
7. Allow the silicone to fully cure. The rate is again like that of the foam with temperature and humidity being a factor. In most cases waiting a good 5-10 hours is plenty. (If after 24 hours the silicone is still not dry, you must remove it all by hand because you got a bad batch. See tips below.)
8. Using a water hose or vacuum cleaner remove the excess peat from the background. If using the hose, be certain the silicone has cured and don’t blast it with high pressure.
9. Follow the above steps to patch up any areas missed and begin planting.
Tips
If you get any of the Great Stuff on you using acetone (nail polish remover) will help remove it. It's best to wear gloves and old clothes.
Small areas at a time work better with the silicone.
Don’t over apply the foam, it expands a lot.
Instead of using the “Great Stuff” foam you can use Canned Pond Sealer Foam which is the same thing only with a black dye, but it is 4X the cost on average.
Dry out your peat/coco husk in the sun, never the oven. Wet peat won't adhere to the silicone well as the silicone is very hydrophobic.
Instead of trying all of this in the aquarium, use a thin piece of foam insulation to make your design on and drop the finished piece into the tank.
If your silicone takes a LOT of pressure to come out of the tube and/or doesn’t cure in the proper time you bought a bad batch. Be sure to check the expiration date and use ones WELL away from it. Bad batches will never cure properly and you will have to tear down/toss anything that comes in contact with it as it will forever remain sticky and uncured. This is can be caused if you allow your silicone to overheat in the car/sun while still in the tube.


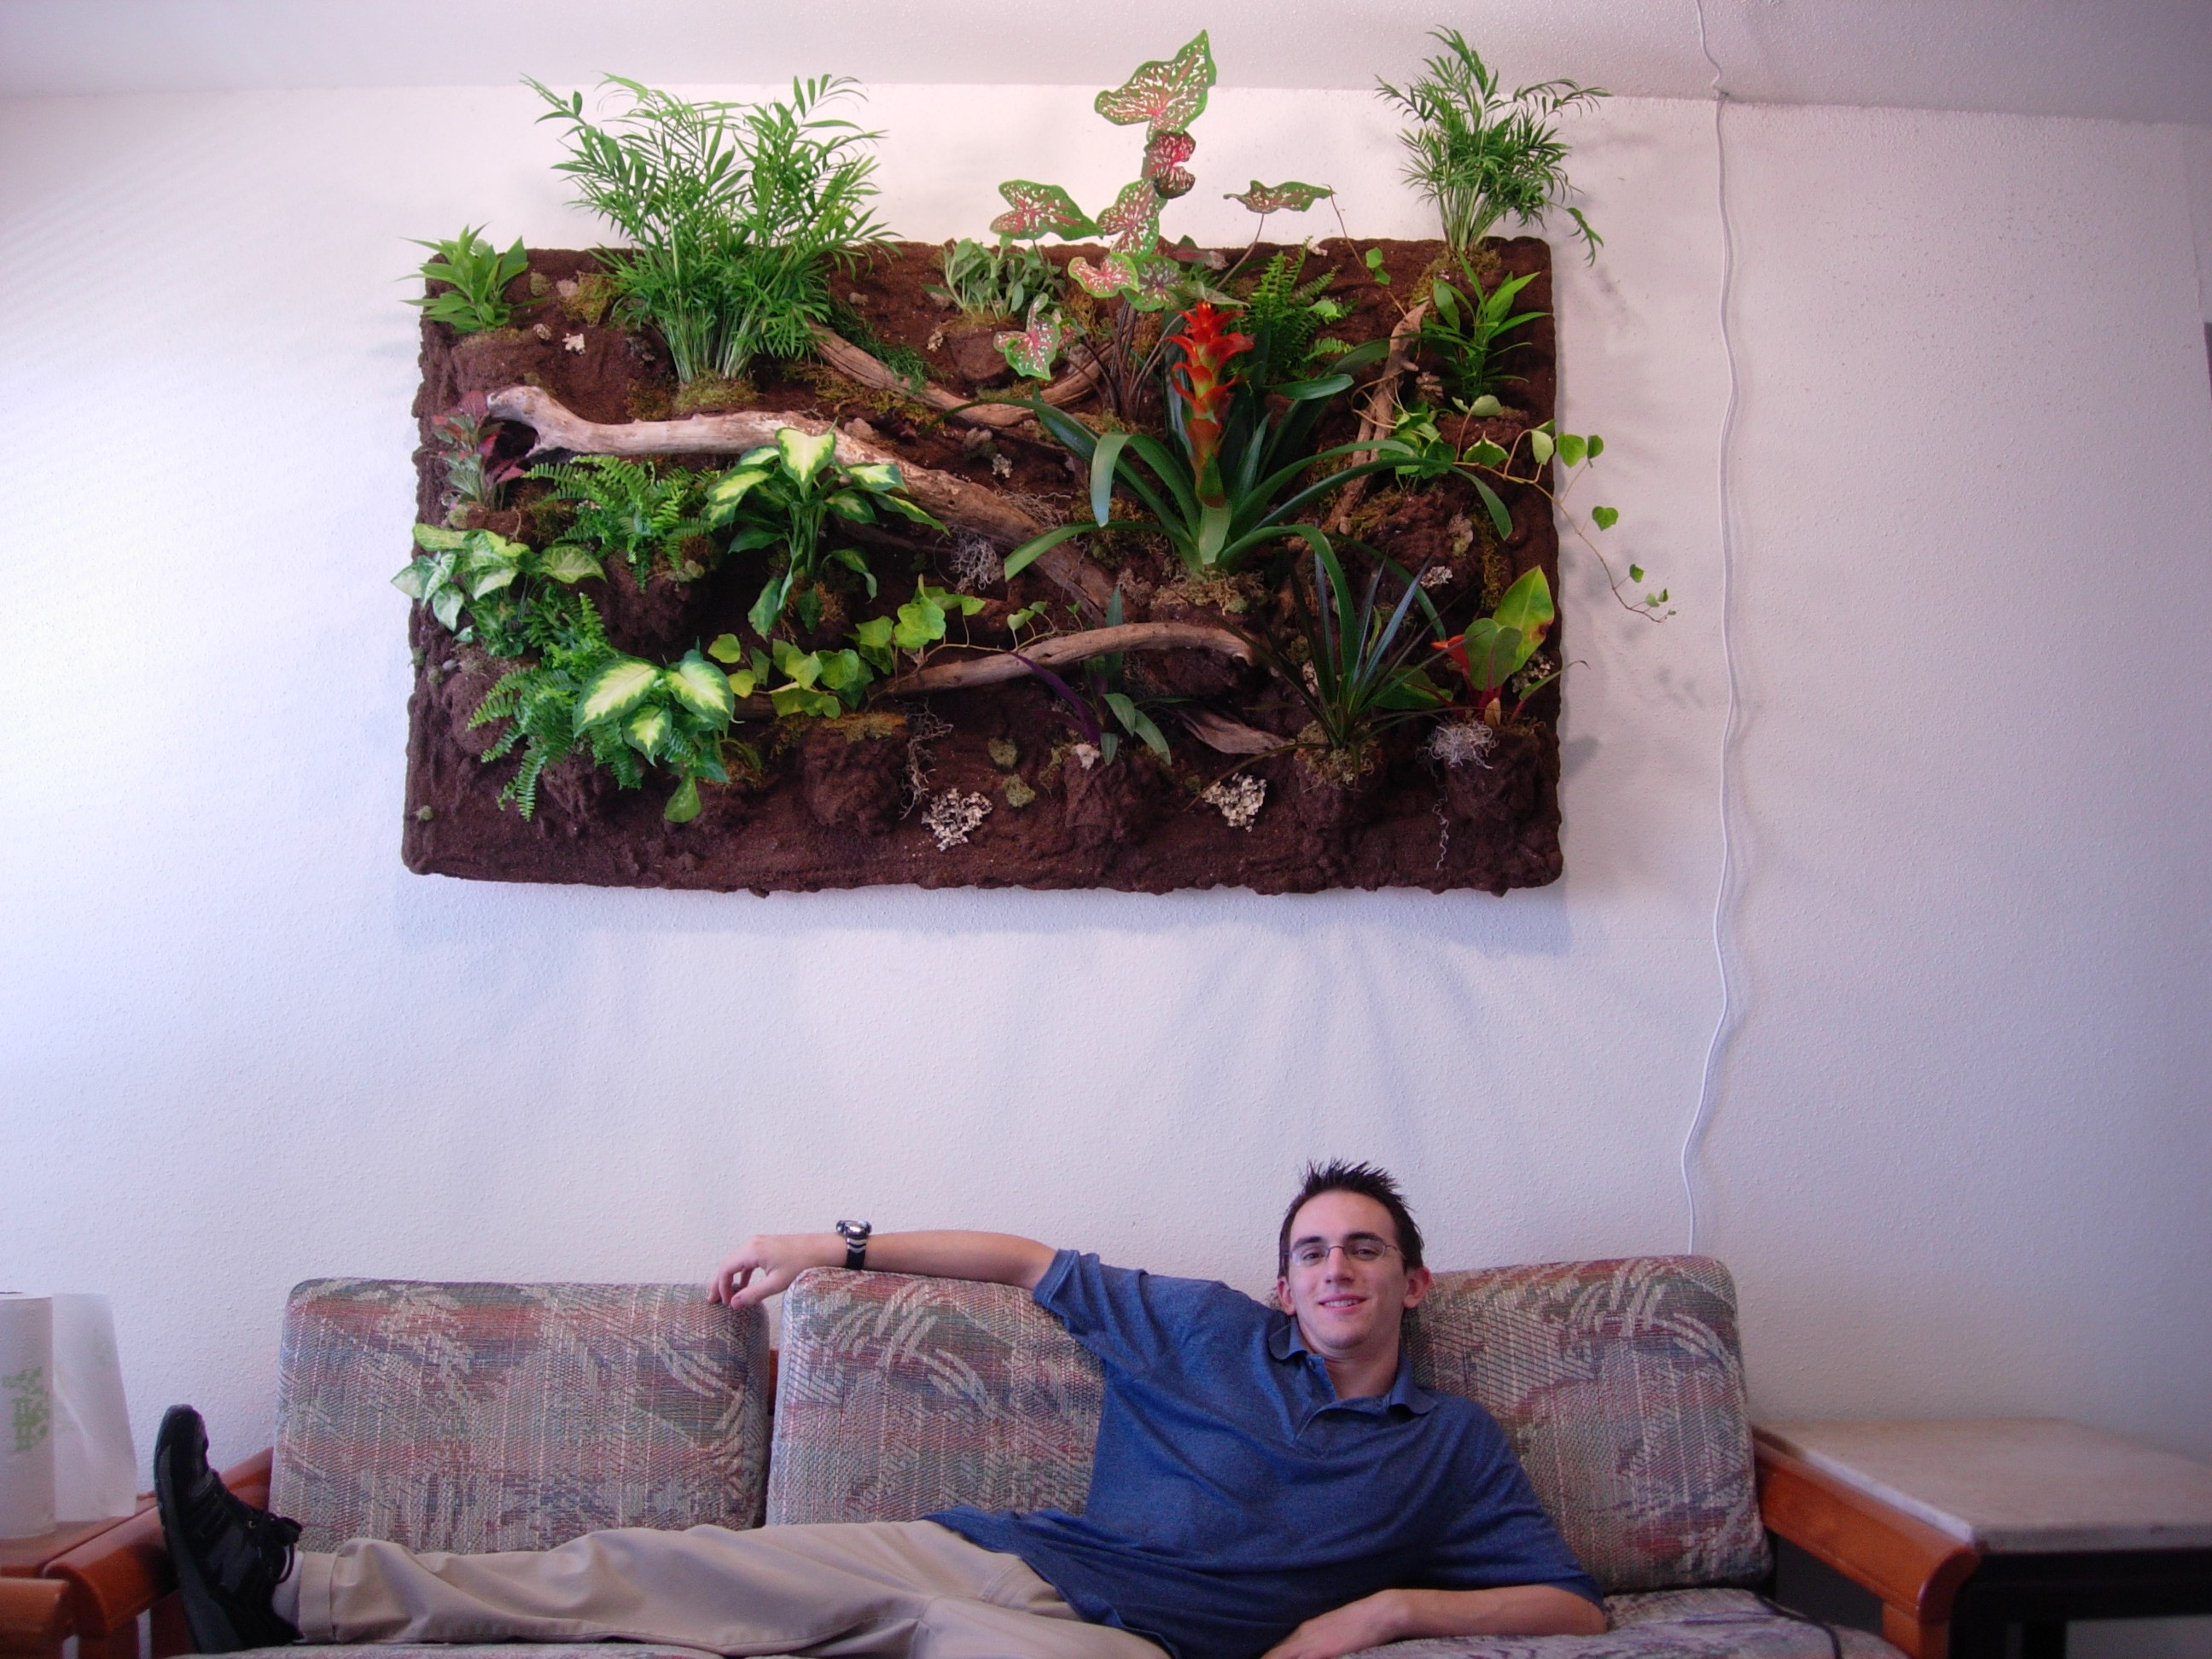
This method can be used on a large scale to produce wall sized living designs. Please ignore the dorky looking oaf on the couch...